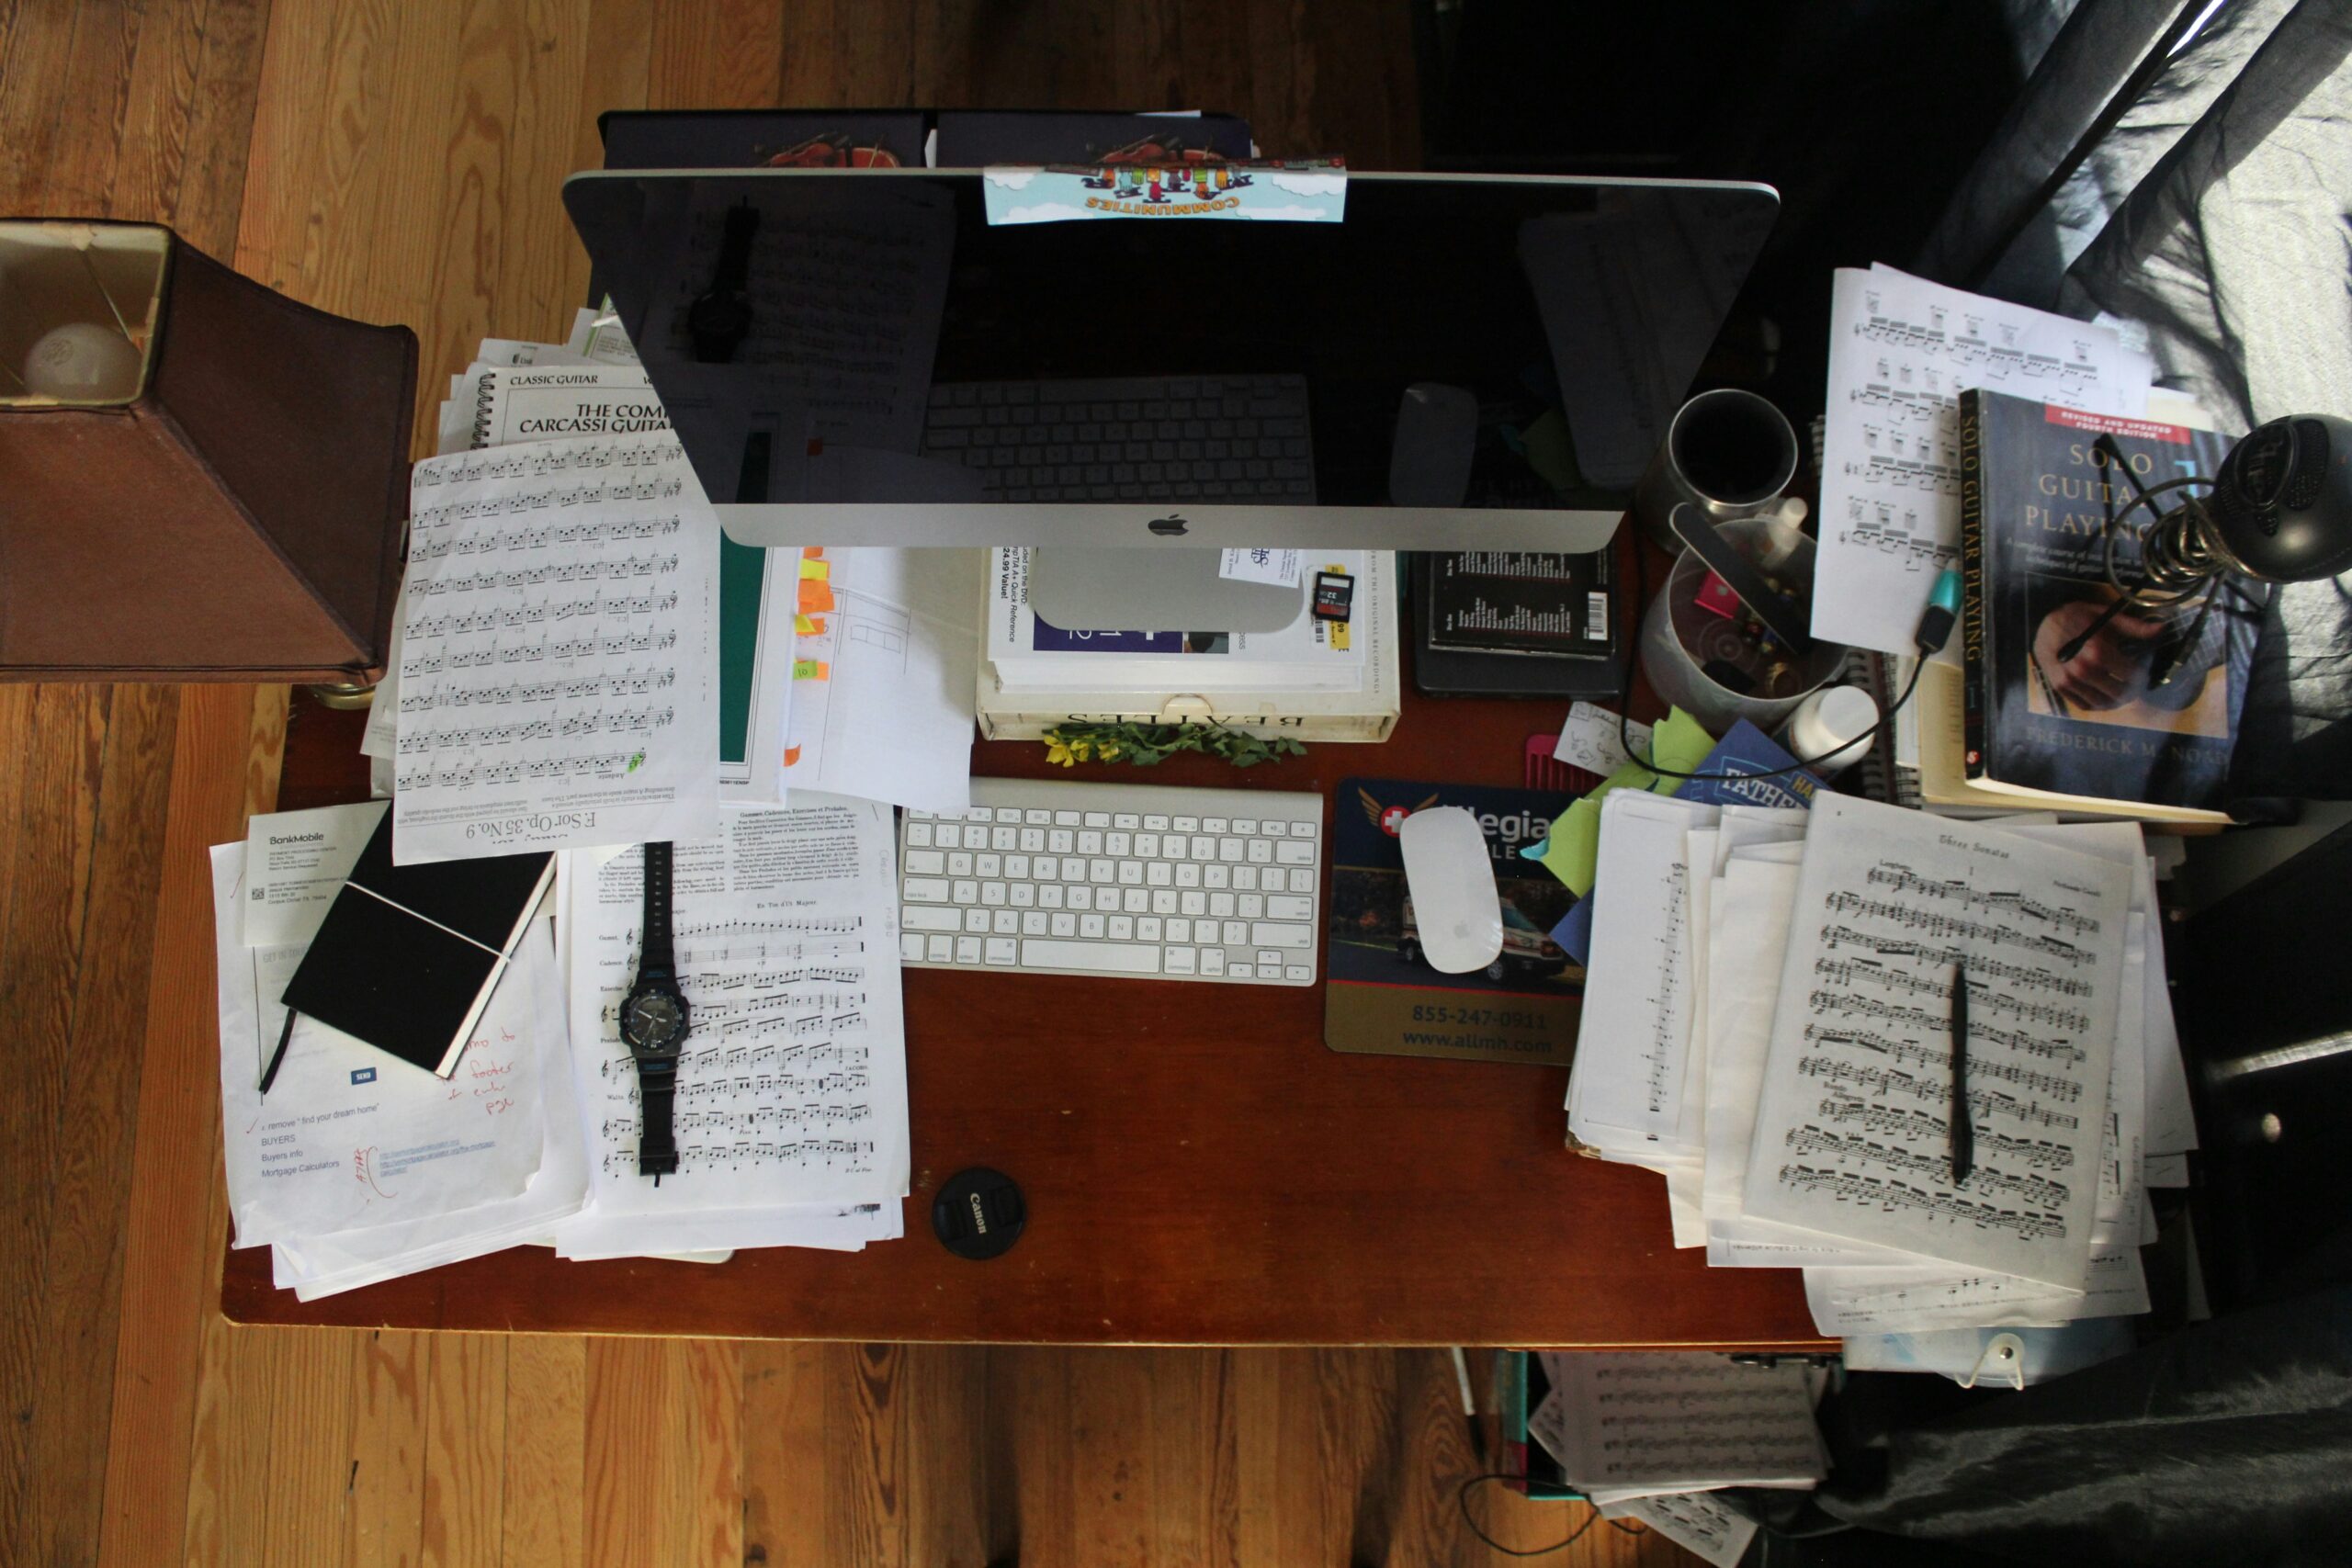
Does your desk look like a bomb went off? Are you surrounded by towering piles of paper, a jumble of pens, and a constant feeling of chaos? We’ve all been told that a messy desk is a sign of a creative mind, but let’s be honest—it’s usually just a sign of a cluttered one. A tidy, organised workspace is a sanctuary, a place where you can think clearly, focus, and feel in control. This step-by-step guide will show you how to transform your desk from a source of stress into a tool for productivity, all with the help of a few key stationery pieces.
Why a Tidy Workspace Matters More Than You Think
Your workspace is a direct reflection of your state of mind. When your desk is cluttered, so is your ability to focus. The constant visual noise can be overwhelming, leading to increased stress and a feeling of being unproductive before you’ve even started. On the other hand, an organised desk provides a sense of calm and control. It reduces the time you waste looking for things and allows you to dedicate your mental energy to the task at hand. It’s not about being a neat freak; it’s about creating an environment that supports your goals and makes you feel good about sitting down to work. —
Step 1: The Great Purge (Be Ruthless!)
This is the most critical step and requires a firm hand. The goal is to clear everything off your desk. Take every single item—pens, paper clips, notebooks, old coffee cups—and place them on the floor or a separate table. Now, you can sort. Pick up each item and ask yourself, “Do I need this? Have I used this in the last six months?” Create three piles: Keep, Throw Away, and Relocate. Be honest with yourself. Get rid of that pen that doesn’t work and the pile of old receipts. Shred documents you no longer need and toss out all the rubbish. If an item belongs somewhere else in the house, move it. Your desk should be completely bare before you move on. This is a non-negotiable step to getting a truly clean start. —
Step 2: The Zone System for a Smarter Layout
Now that your desk is a blank slate, it’s time to put a system in place. A great way to do this is to create “zones” for different tasks. This ensures every item you put back has a purpose and a place.
- The Writing & Planning Zone: This is your primary area for writing, journaling, and planning. It should include your favourite notebook, a planner, and a small pen pot with a handful of your most-used pens.
- The Digital Zone: This is the area for your computer, monitor, and keyboard. Keep this space as clear as possible. A clean surface here helps you focus on your screen without distraction.
- The Storage Zone: This is where you’ll keep all your smaller items, like paper clips, sticky notes, and batteries. These should be stored in a drawer or a small, dedicated desk tidy.
By defining these zones, you are creating a workspace that is tailored to how you actually work. You are thinking about function before form, which is the key to lasting organisation. —
Step 3: Finding a Home for Everything
Now that you have your zones, it’s time to put your “Keep” pile back, giving every item a designated home. This is where your stationery organising tools come in.
- Pen Pots: These are a must-have. Instead of a messy jumble, your pens and pencils should be upright and easily accessible.
- Document Trays: Use these for any paper you need to keep on your desk. Use a tiered tray with different sections for “To-Do,” “To-File,” and “In-Progress.” This keeps all your papers neatly contained and off the main desktop.
- Desk Tidies: Small boxes or desk tidies are brilliant for holding all your tiny items—paper clips, rubber bands, sticky notes, and so on. They keep everything in one place, reducing clutter and the time you spend looking for things.
The rule here is simple: if an item doesn’t have a designated home, it has no business being on your desk. Give everything a place, and the mess won’t creep back as quickly. —
Step 4: The Art of the Vertical
If you have a small workspace, you must think vertically. Using the vertical space on your desk or on the wall above it is a brilliant way to save room and keep things organised without taking up valuable desktop real estate.
- Wall Organisers: A simple wall-mounted organiser with pockets or shelves is perfect for holding notebooks, planners, and pens. It keeps everything off your desk and in a clean, organised way.
- Tiered Shelving: A small tiered shelf can be used to add height and style to your desk. You can use the shelves to hold decorative items, plants, or small storage containers.
This is a smart way to get the most out of a small space and to add a bit of personality to your desk without cluttering it up. —
Step 5: The Personal Touch
Once your desk is tidy and organised, it’s time to add a personal touch to make it a place you actually want to be. This is the fun part. Add a small plant to bring some life into the space. Add a favourite photo in a simple frame. Maybe a little piece of art or a decorative bowl for keys. These small details will make your workspace feel inspiring and uniquely yours. The space should be a reflection of you, not just a place where you work.
A tidy workspace isn’t about perfection; it’s about giving yourself the gift of clarity and focus. It’s about creating an environment that helps you feel calm and in control, not overwhelmed. By taking the time to organise your space and give every item a home, you’re setting yourself up for a more productive and peaceful day. It’s a simple change that can have a profound impact on how you feel and work every single day.
No responses yet